Most fishing knots fail for two reasons: too few wraps around the standing line, and a cinch that was pulled loose instead of pulled tight. Learn how to tie a fishing knot that holds by wrapping the right number of turns, seating them side by side, applying steady pressure instead of a hard yank, and trimming the tag end short. Four knots cover almost everything you will meet on the water, and each takes under a minute once your hands know the moves.
A knot is the weakest link in your tackle, and not because the rope itself is weak. Any join in a line leaves a short, uneven, slightly stiff section. Tie it badly and you can lose half the rated strength of your line at the exact moment a fish pulls hardest. Tie it well and the connection holds at or near the strength of the line above it.
What follows is the short version: what to have on the boat, four knots with numbered steps, and the specific failures that make knots slip. I will keep the language plain because a knot diagram tells you nothing about how hard to pull, and pulling too hard is how most beginners destroy an otherwise good tie.
Table of Contents
- What You Need
- Step-by-Step: How to Tie a Fishing Knot That Holds
- How to Tie a Uni Knot That Holds for Bait Fishing
- How to Tie an Improved Clinch Knot
- How to Tie a Palomar Knot for Braided Line
- How to Tie a Surgeon’s Knot for Joining Two Lines
- Common Mistakes That Make Fishing Knots Slip or Fail
- Frequently Asked Questions
- What is the strongest fishing knot for a hook?
- Can I use the Palomar knot with both monofilament and braided line?
- Should I wet fishing line before tightening a knot?
- How long should the tag end be after tying a fishing knot?
- Why does my fishing knot keep loosening after I tighten it?
- Conclusion
What You Need
You do not need a box of gadgets. You need the right line for the job, terminal tackle that suits it, and one or two small items that make wet line behave while you tie it.
- Line matched to the target. Monofilament stretches and forgives sloppy tensioning, which makes it the easiest line to tie. Fluorocarbon is stiffer and denser, so it needs more wraps and a slower cinch. Braid has almost no stretch and cuts fingers, which is why it wants a knot that grips without relying on friction alone.
- Terminal tackle with clean eyes. Straight-eyed hooks, welded swivels and quality lure split rings. A rusty, bent or grooved eye is where most knots fail, not the knot itself.
- A short length of spare line of each type you use. Working in daylight or under a deck light beats tying a knot you cannot see.
- Small scissors or line cutters. A hook can be cut off with the wrong end of your leader and the rest of the rig becomes a flying projectile. Cut with tools, close to the hook, with the hook pointed away from you.
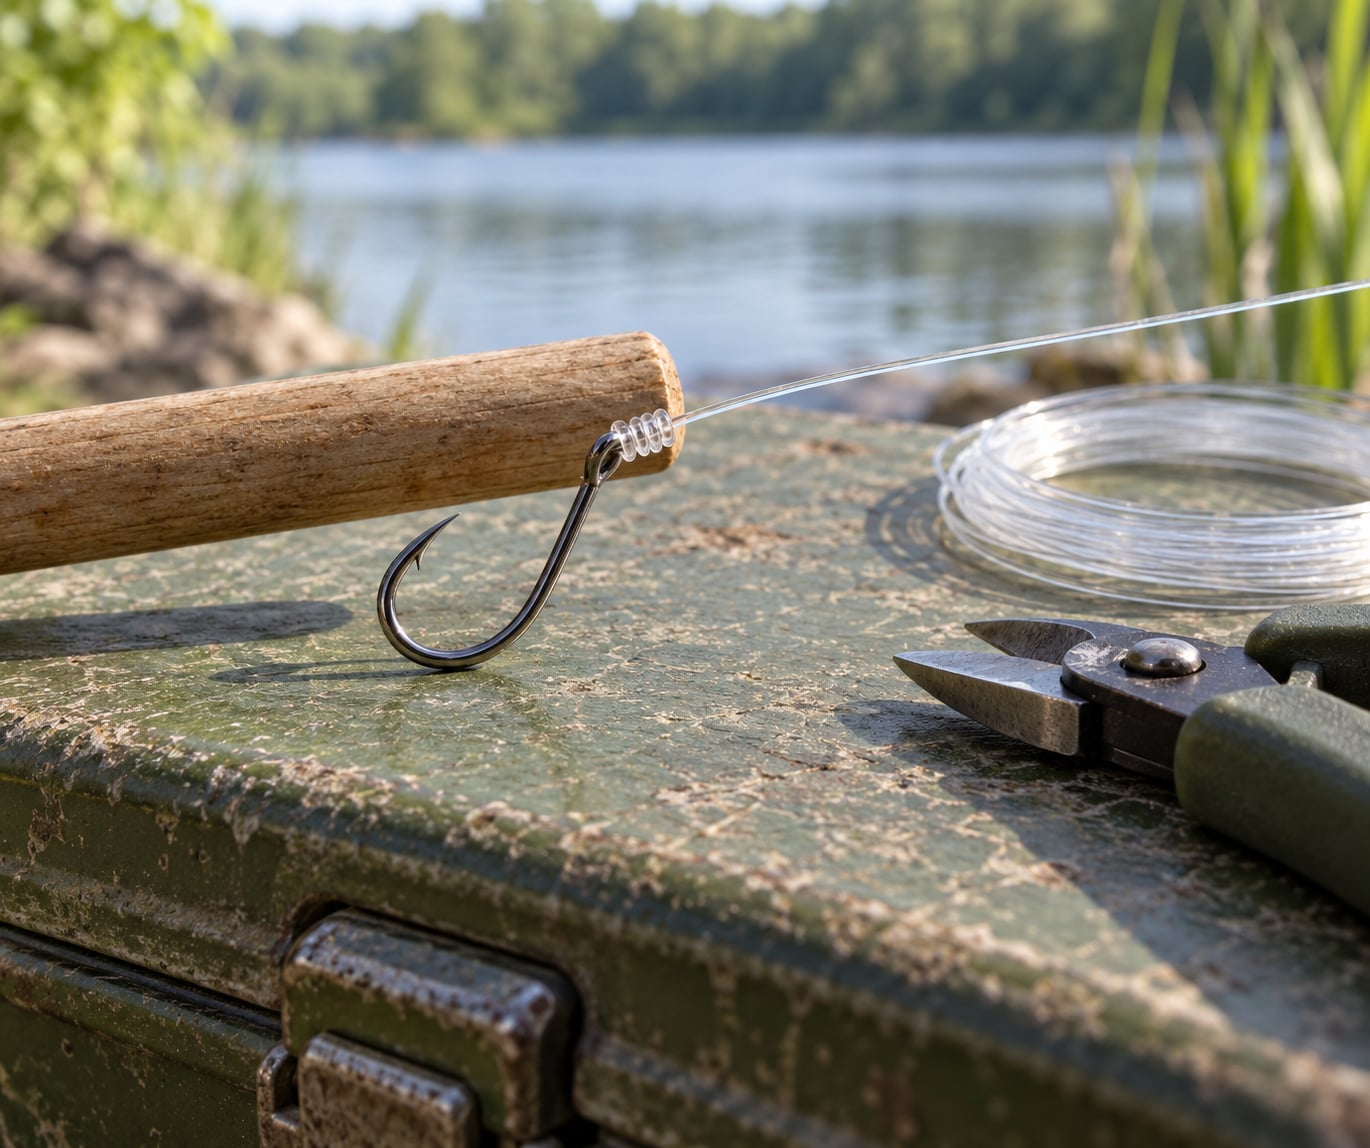
- Optional: a wooden dowel or a pair of baiting pliers. Both hold the hook still so you can dress a knot on light or slippery line. Pliers also work as a rough home strength check.
Line diameter changes the wrap count more than material does. A 10 lb leader carries far less load than 50 lb braid, so it needs proportionally fewer turns and a much more delicate touch. Lure weight matters too: a heavy jig head will seat a knot against the eye of the hook and can finish off a poorly dressed tie that felt fine under light spinning tackle.
Hook style is the last piece. Hooks with a large ring or long shank need a different wrap count from small straight eyes, and circle hooks on live bait are better attached with a snell-style wrap that rides along the shank instead of a simple eye knot. Match the method to the terminal piece before you start wrapping.
Step-by-Step: How to Tie a Fishing Knot That Holds
Choose one method based on what you are actually connecting, then apply the same four habits every time you tie it. Those four habits do more for your hookups than switching between five different knots. If you are still undecided, the short answer to how to tie a fishing knot that holds is to pick the knot that matches your line and tackle, then tie it the same way every single time.
- Monofilament or fluorocarbon to a hook, swivel or lure eye: the improved clinch knot. It is compact, easy to dress and forgiving of small errors.
- Braided line to a hook, swivel or lure eye: the Palomar knot. The loop gives braid something solid to cinch against.
- Any line to a hook or swivel when you want a usable loop left over: the Uni knot. Handy for droppers and bait rigs.
- Two lines together, such as line to leader or braid to fluorocarbon: the surgeon’s knot. Compact enough to pass through guides.
The four habits are these. Wrap so the coils lie side by side, with no gaps and no crossing. Put a drop of water on the knot before you cinch it, which softens mono and reduces friction so the knot draws up evenly instead of gripping one side and creasing the other. Cinch with steady, increasing pressure in both directions, never one hard pull. Leave a tag end about 6 mm on a hook, roughly the width of a thumbnail, and longer on swivels and line-to-line joins.
Dress the knot after every cinch by sliding it along the standing line a few millimetres, then re-cinch. If the knot rolls or the wraps bunch up, you have either too few turns or uneven tension. Adding one more wrap solves it more often than any other trick.
How to Tie a Uni Knot That Holds for Bait Fishing
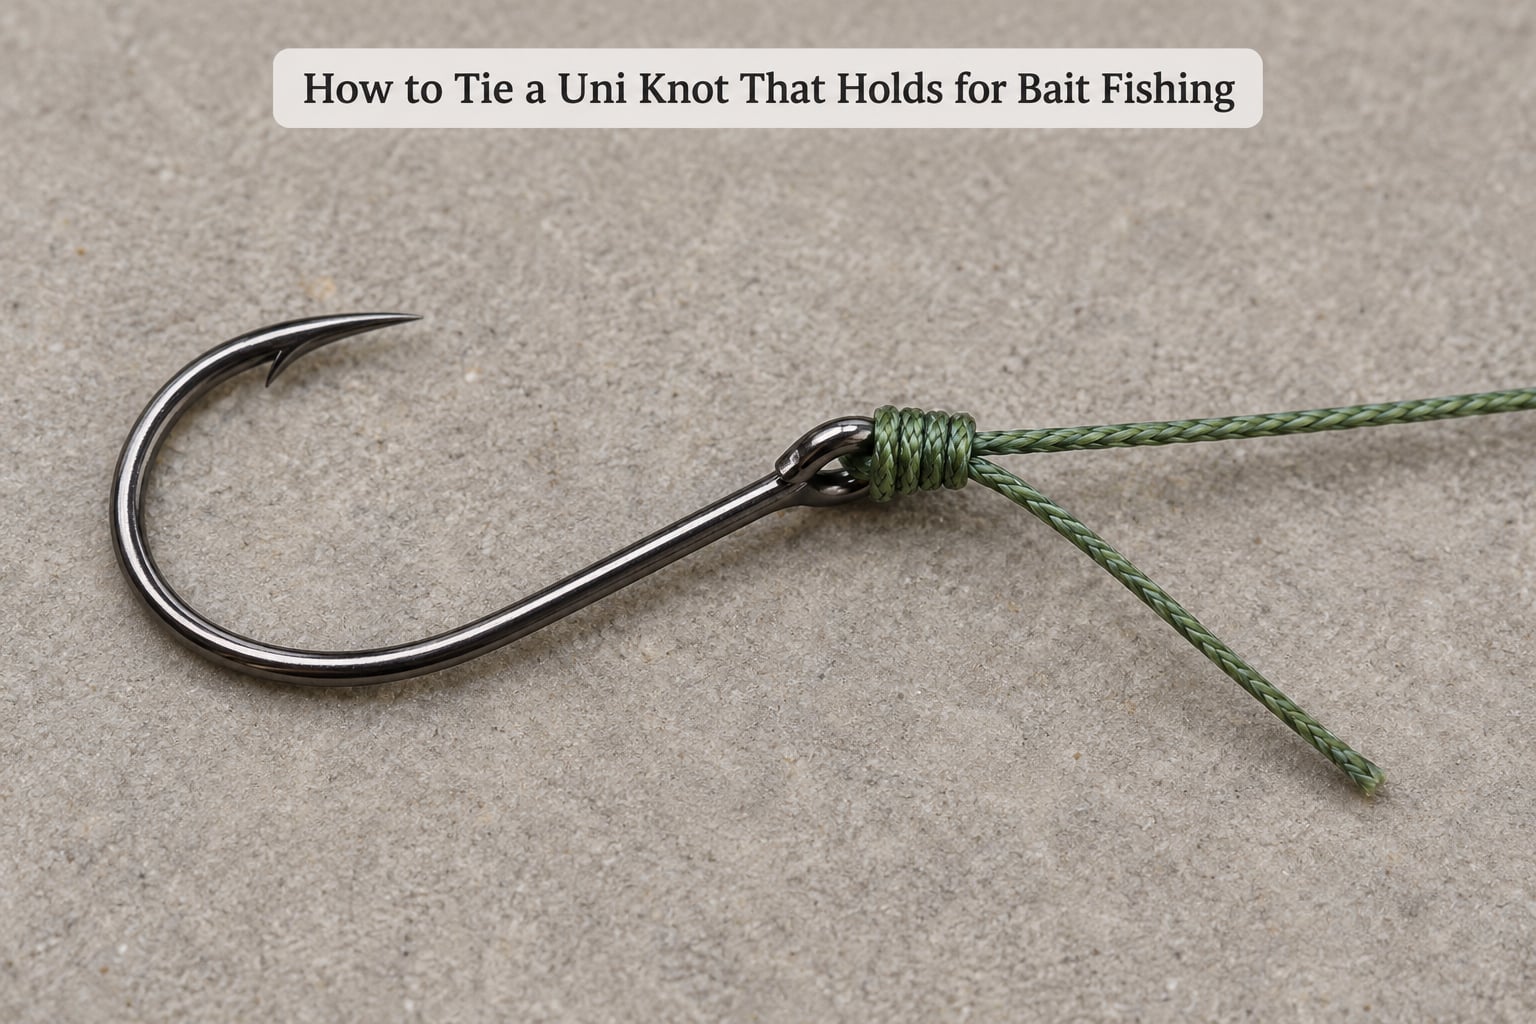
- Thread the line through the eye of the hook, swivel or lure, then bring the tag end back up alongside the standing line so the two run together for about 15 cm.
- Hold the two strands together and make two overhand knots around both strands, well below the terminal tackle.
- Pull the two overhand knots tight and space them side by side.
- Wrap the tag end around the standing line and the doubled section five to seven times. The turns must nest against each other, so push each new coil tight before laying the next one.
- Enter the remaining loop between the standing line and the loop you made in step 2, pass the tag end behind both strands and back through the loop you just entered.
- Draw the standing line and the tag end apart firmly, then work the knot along the standing line with your thumb and forefinger until it is compact and evenly shaped.
- Trim the tag end to about 6 mm and pull the standing line hard with the hook pointed away from your face.
That last move is your check. A correctly tied Uni knot does not roll, does not have a visible gap between coils, and the tag end lies flat against the standing line. Pulling on it should make the whole knot tighten further, not spring open. Because the knot is formed below the tackle, it also leaves a usable loop for a dropper or a second hook.
How to Tie an Improved Clinch Knot
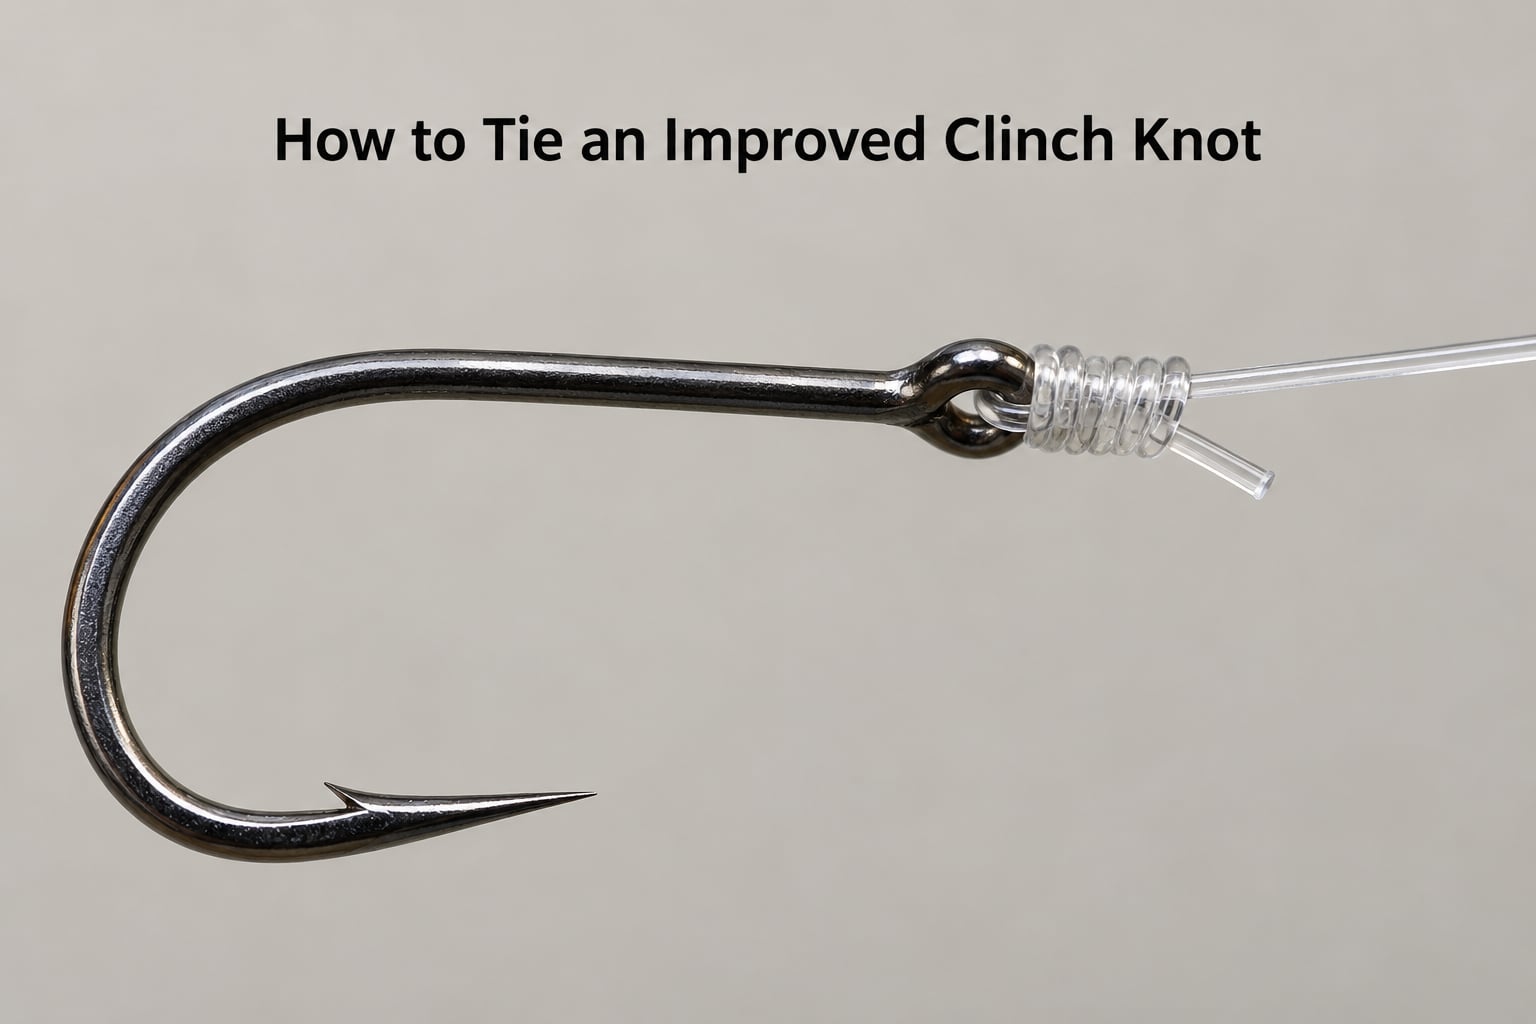
- Pass the line through the hook eye and back up the standing line, leaving enough tag end to work with.
- Hold the tag end and standing line together and make five or six wraps around both strands. On line lighter than about 20 lb, add one or two more wraps rather than fewer.
- Take the tag end around the standing line, through the loop you just formed, around the standing line again and back through the same loop a second time.
- Wet the knot with a drop of water, then pull the tag end and standing line apart steadily.
- Dress the wraps by pushing them together along the standing line until they lie in a smooth, compact bundle with no gaps.
- Cinch hard by pulling in opposite directions while pressing the coils toward the hook eye, then pull the standing line to seat the knot in the eye.
- Trim the tag end to about 6 mm and give the standing line one firm pull away from the hook.
The two extra passes through the loop are the whole point of the improved version over the basic clinch, and they are the step most people skip in a hurry. Those turns lock the coils together so the knot cannot roll open under a pulling fish. Anglers who move to braid without changing method are the ones who lose fish on this knot, because braid wants the Palomar instead.
Worth saying plainly: a video of one knot being tied, played slow, teaches more than a page of steps. If you have never tied a knot slowly on your own hook a dozen times, that repetition fixes more lost fish than memorising a fifth knot. The written steps below only work once your hands have done them.
How to Tie a Palomar Knot for Braided Line
The Palomar is the most reliable connection for braided line because it gives braid a closed loop to cinch around, instead of asking it to grip a wrap by friction alone. It also works on monofilament and fluorocarbon.
- Fold about 20 cm of braid into a doubled loop, then pass the loop through the hook, swivel or lure eye.
- Pass the end of the loop through the eye a second time so a loop of doubled line hangs from the tackle.
- Tie an overhand knot in the doubled loop, passing the whole loop through the knot so the tag end sits inside it.
- Pull both ends of the loop in opposite directions to close the overhand knot around the doubled line.
- Pull the doubled line down through the loop you made in step 2, from the back to the front, snugging it against the knot.
- Wet the knot, pull both standing parts evenly and dress it by sliding it toward the tackle until it is compact and symmetric.
- Trim both ends to about 6 mm and pull hard on the standing line to test the seat.
The common failure here is a half-finished knot. If the loop end is not pulled all the way back through the knot in step 4, the connection stays loose and can open. Anglers on braid forums report the Palomar slipping most often for exactly that reason, not because the knot is weak. Also keep braid away from hook points; a fine point will sever the fibres long before the knot fails.
How to Tie a Surgeon’s Knot for Joining Two Lines
This is the one to use for a leader to a main line, or braid to fluorocarbon, because it makes a short, narrow join that will pass through every guide without snagging.
- Overlap the two line ends by about 20 cm and hold the crossing point firmly.
- Tie an overhand knot in the first line around the second, then pull it tight against the standing parts without crushing the coating.
- Take the working end of the second line around the standing part of the first line and make two or three wraps.
- Tuck the working end back through the loop you just made, between the two lines, in the opposite direction to the first knot.
- Pull both lines apart evenly, keeping light tension the whole time so the coils seat instead of jamming.
- Dress both knots snugly together, wet them first, and trim both working ends to about 3 to 4 cm.
- Pull the standing lines apart firmly and inspect the join. The two coils should sit parallel with no gap between them.
If you join the same two materials repeatedly, buy or spool up a pre-tied leader instead. Factory knots are tied on machines under controlled tension and are usually better than a hurried one tied on a boat seat. Reserve the surgeon’s knot for connections you build in the field.
Common Mistakes That Make Fishing Knots Slip or Fail
Almost every lost fish blamed on a knot traces back to one of these. Pair each failure with the correction, and check your knots again every few casts rather than only at setup. Getting how to tie a fishing knot that holds right is far more about consistency than about finding a cleverer knot.
- Too few wraps. Fewer than five turns around a light leader is the most common error. Correction: add one or two turns whenever the line is light or slick.
- A loose dress. Gaps between coils let a knot roll open. Correction: push the coils together along the standing line until the profile is smooth, then re-cinch.
- Uneven tension while cinching. Pulling one side harder than the other creases mono and jams the knot. Correction: hold both ends and pull straight apart with the same force.
- A tag end that is too short. Trimmed flush, a knot can roll open under a fish’s pull. Correction: keep about 6 mm on a hook, more on swivels and line joins.
- Cutting the standing line instead of the tag end. This flies the whole rig and can injure whoever is behind you. Correction: cut with scissors or cutters, hook pointed away, and only the short end.
- Using a hook knot on braided line. Clinch-style wraps depend on a line that grips, and braid does not. Correction: switch to the Palomar as soon as you switch to braid.
- Skipping the inspection. A hook point can nick the line inside the eye where you cannot see it. Correction: run a fingernail along the standing line above every knot, and check the point before every cast.
- Rushing the retie. Tying in the dark, in the rain or with numb fingers produces loose, ragged knots. Correction: tie before you are cold, use a dowel to hold the hook, and warm your hands. A light smear of line dressing on stiff braid helps it stay put while you work.
One more habit worth adopting: pull-test every knot before you trust it. Load the standing line onto a dowel or the jaws of baiting pliers and pull steadily. The knot should hold, or fail at the line above the knot rather than at the knot itself. That single test tells you more than any strength chart, and forum anglers consistently cite it as the moment they stopped losing fish.
Frequently Asked Questions
What is the strongest fishing knot for a hook?
The Palomar is usually the strongest hook knot because it forms a closed loop of doubled line and cinches the standing part against solid material rather than relying on friction between wraps. On heavy braid it retains close to the line’s rated strength. The improved clinch is close behind on monofilament and far easier to tie in a hurry, so many anglers use both: Palomar on braid, clinch on mono and fluorocarbon.
Can I use the Palomar knot with both monofilament and braided line?
Yes. The Palomar works on braided line, monofilament and fluorocarbon, and it is often the easiest knot for a beginner to dress correctly because the doubled loop keeps the coils lined up. On thin fluorocarbon leaders, add a second set of wraps or use a heavier leader, since stiff thin line can bite into itself. On braid, keep the tag ends slightly longer because the stiff fibres are harder to trim cleanly.
Should I wet fishing line before tightening a knot?
Yes, always. A drop of water on the knot softens mono and fluorocarbon slightly and reduces friction so the knot draws together evenly instead of creasing on one side. It does not lubricate the knot so much as it lets the coils seat. Wetting also removes grit from the wraps, which is worth doing when you are tying muddy or algae-covered line.
How long should the tag end be after tying a fishing knot?
On a hook, leave roughly 6 mm, about the width of a thumbnail. That is short enough not to snag but long enough that the knot cannot roll open. On swivels, rings and line-to-line joins, leave 3 to 4 cm so you can re-cinch and re-trim later. Trim with cutters rather than your teeth, and never trim flush with the knot.
Why does my fishing knot keep loosening after I tighten it?
Three causes account for nearly all of it. First, uneven tension during the cinch leaves one side loose. Second, the wraps are gapped, so the knot rolls instead of gripping. Third, you trimmed the tag end too short to re-dress it. Undo it, remake the knot with every coil side by side, wet it, pull both ends straight apart at the same time, and slide the knot toward the tackle before trimming.
Conclusion
Start by matching one knot to your setup: the improved clinch on mono or fluorocarbon, the Palomar on braid, the Uni when you want a spare loop, and the surgeon’s knot for joining two lines. Then tie it the same way every time, slowly enough that each coil sits beside the last.
Wet the knot, dress it, pull both ends straight apart at the same force, trim the tag end to about 6 mm, and pull-test it on a dowel before the first cast. Add one more wrap any time the coils look loose. Get those five habits right and how to tie a fishing knot that holds stops being a question.