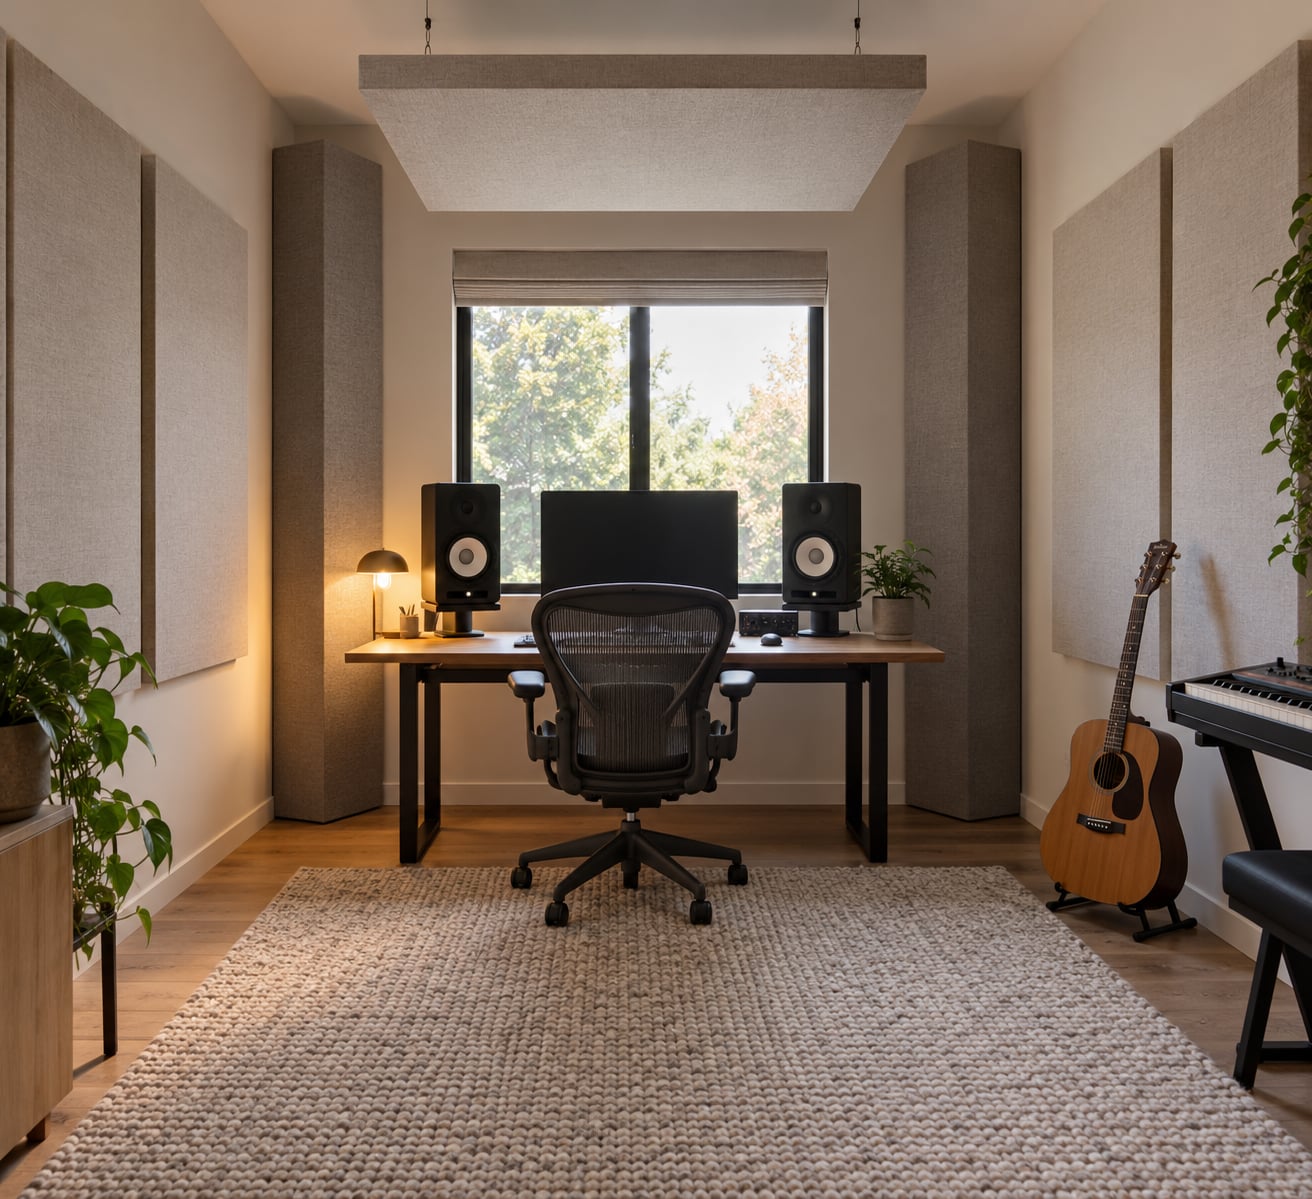
Learning how to acoustically treat a home studio room comes down to an order of operations: measure the space, find the reflections, treat the corners, then check your work. Most rooms need broadband panels at the first reflection points, bass traps in all four corners, and something soft on the floor and ceiling. That is a weekend of work, not a rebuild.
Acoustic treatment is the practice of controlling sound inside a room so that what your monitors tell you is honest. Absorption soaks up reflected energy, bass traps catch the low-frequency pile-up in corners, and diffusion scatters what is left. It does not stop sound leaking through walls, and confusing those two things is the most expensive mistake beginners make.
Table of Contents
- What You Need
- Tools
- Materials
- Safety
- Step-by-Step
- 1. Measure the Room and Map the Problems
- 2. Decide Whether to Soundproof or Absorb Sound
- 3. Treat the Earliest Reflection Points
- 4. Add Bass Traps in the Corners
- 5. Control Floor and Ceiling Reflections
- 6. Add Absorption at the Recording Position
- 7. Test the Room and Make Final Adjustments
- Common Mistakes
- Treating with foam tiles
- Mounting panels flat against the wall
- Skipping the corners
- Over-absorbing
- Ignoring speaker and desk position
- Treating before placing monitors
- Frequently Asked Questions
- What are the best acoustic treatments for a home studio?
- What is the 38% rule in room acoustics?
- How much does it cost to acoustically treat a room?
- What is the best sound deadening for a studio?
- How do I acoustically treat a bedroom studio with no drilling allowed?
- How do I acoustically treat a room with windows?
- Conclusion
What You Need
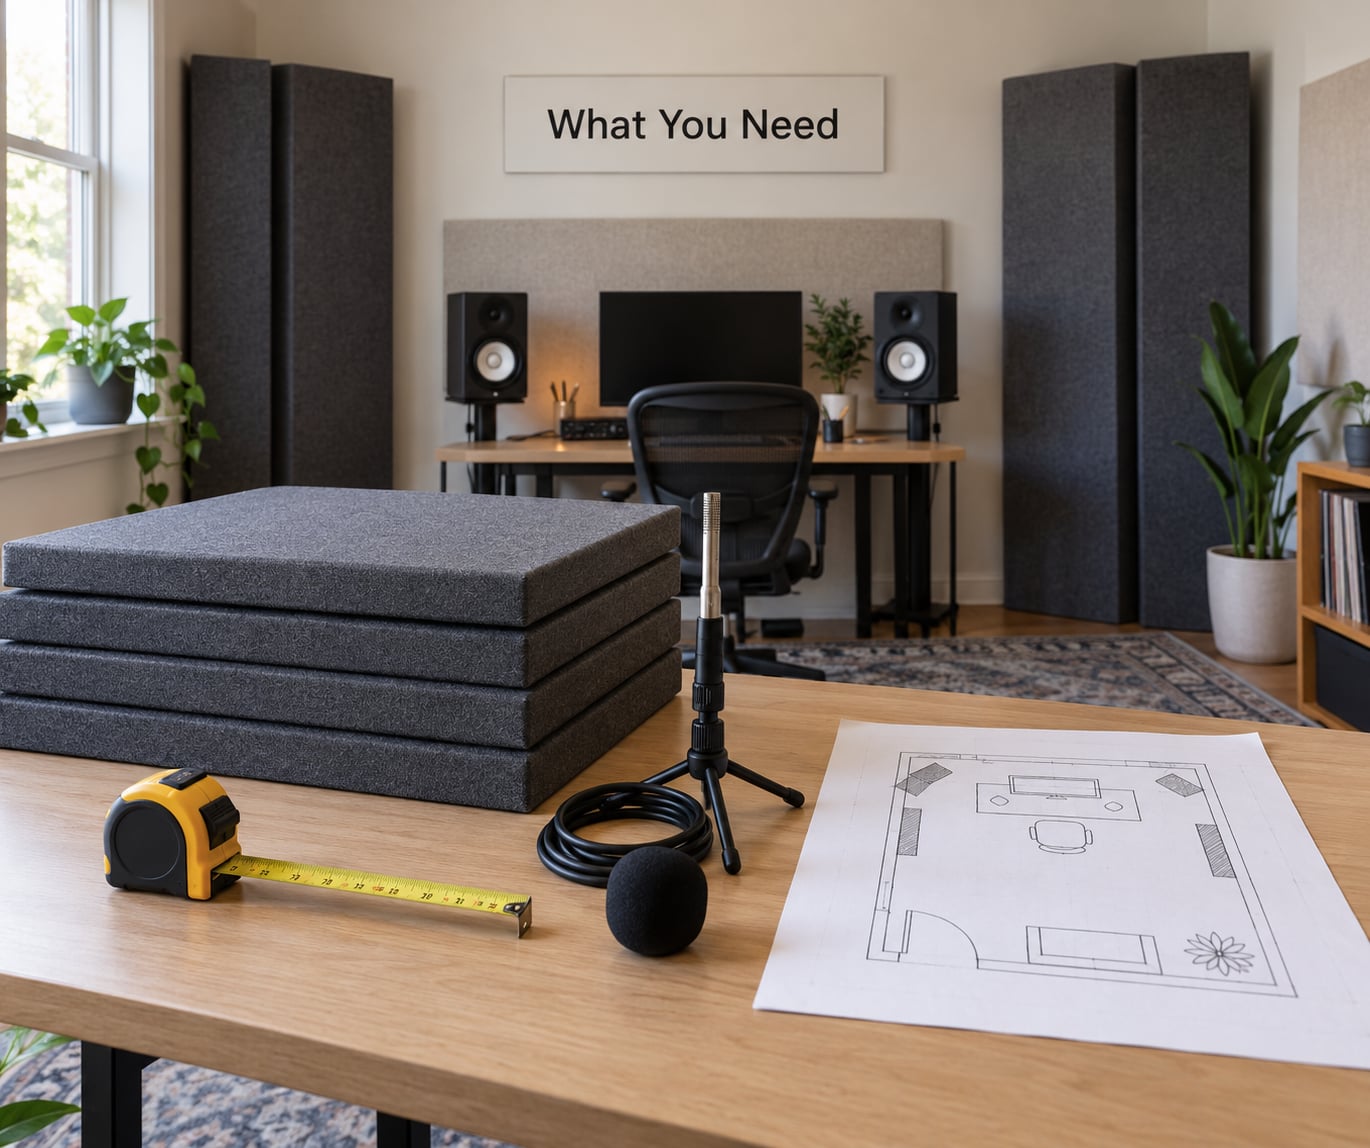
You do not need a stack of panels to start. You need measurements, a few dense absorbers, something soft underfoot, and a way to mount them without wrecking the walls.
Tools
- A tape measure. Record length, width and height, plus ceiling height at each point if the ceiling is sloped. Two decimal places is plenty.
- A flat-response measurement microphone and sweep software such as Room EQ Wizard, if you want numbers instead of guesses. A borrowed USB measurement mic beats guessing.
- A full-size mirror or a small hand mirror for locating first reflection points.
- A drill, stud finder and wall anchors, or removable mounting hardware if you rent.
- A phone voice recorder for before and after comparison clips.
Materials
Density matters more than brand. Rockwool or Owens Corning 703 at roughly 60 kg/m3, 100 mm thick, wrapped in breathable fabric, does most of the work of an expensive panel. Cheap open-cell foam tiles are a different product entirely: they work in the 500 Hz to 4 kHz range and go quiet below that, which is exactly where your room is already in trouble.
For the floor, a thick wool rug or carpet with a felt underlay absorbs more than people expect. For renters, hook-and-loop strips, removable picture-hanging hardware, or freestanding panel stands let you treat a room you cannot drill into.
Safety
Falling objects are the real hazard here, not loud sound. Ceiling clouds and tall corner traps need proper anchors into studs or joists, not drywall screws. Check with a stud finder before you drill, keep panels clear of heaters and vents, and if your ceiling is anything less than structurally boring, ask someone who knows buildings before you put a hole in it.
Step-by-Step
1. Measure the Room and Map the Problems
Write down all three dimensions before you buy anything. Then map what is already in the room: doors, windows, a bed, a desk against a wall, anything flat and hard like a mirror or a closet door. Those hard, parallel surfaces are the reason your room sounds wrong.
Sit at your listening position and play a familiar track through your monitors. If the bass sounds hollow or one note jumps out, you are hearing room modes: frequencies where the room length, width and height reinforce themselves. Note the frequencies that misbehave if you have measurement gear. Even without it, stand in different parts of the room and listen for where the low end disappears, because that tells you where your traps are needed.
2. Decide Whether to Soundproof or Absorb Sound
Soundproofing is about keeping sound in or out. Mass, airtightness and decoupling do that work, and it is a construction project. Absorption is about what happens to sound once it is inside, and it is the part that fixes your mixes. If you can hear traffic, a washing machine or a neighbour’s TV while mixing, no panel on earth will fix it, so save your effort for the reflections you can actually control.
3. Treat the Earliest Reflection Points
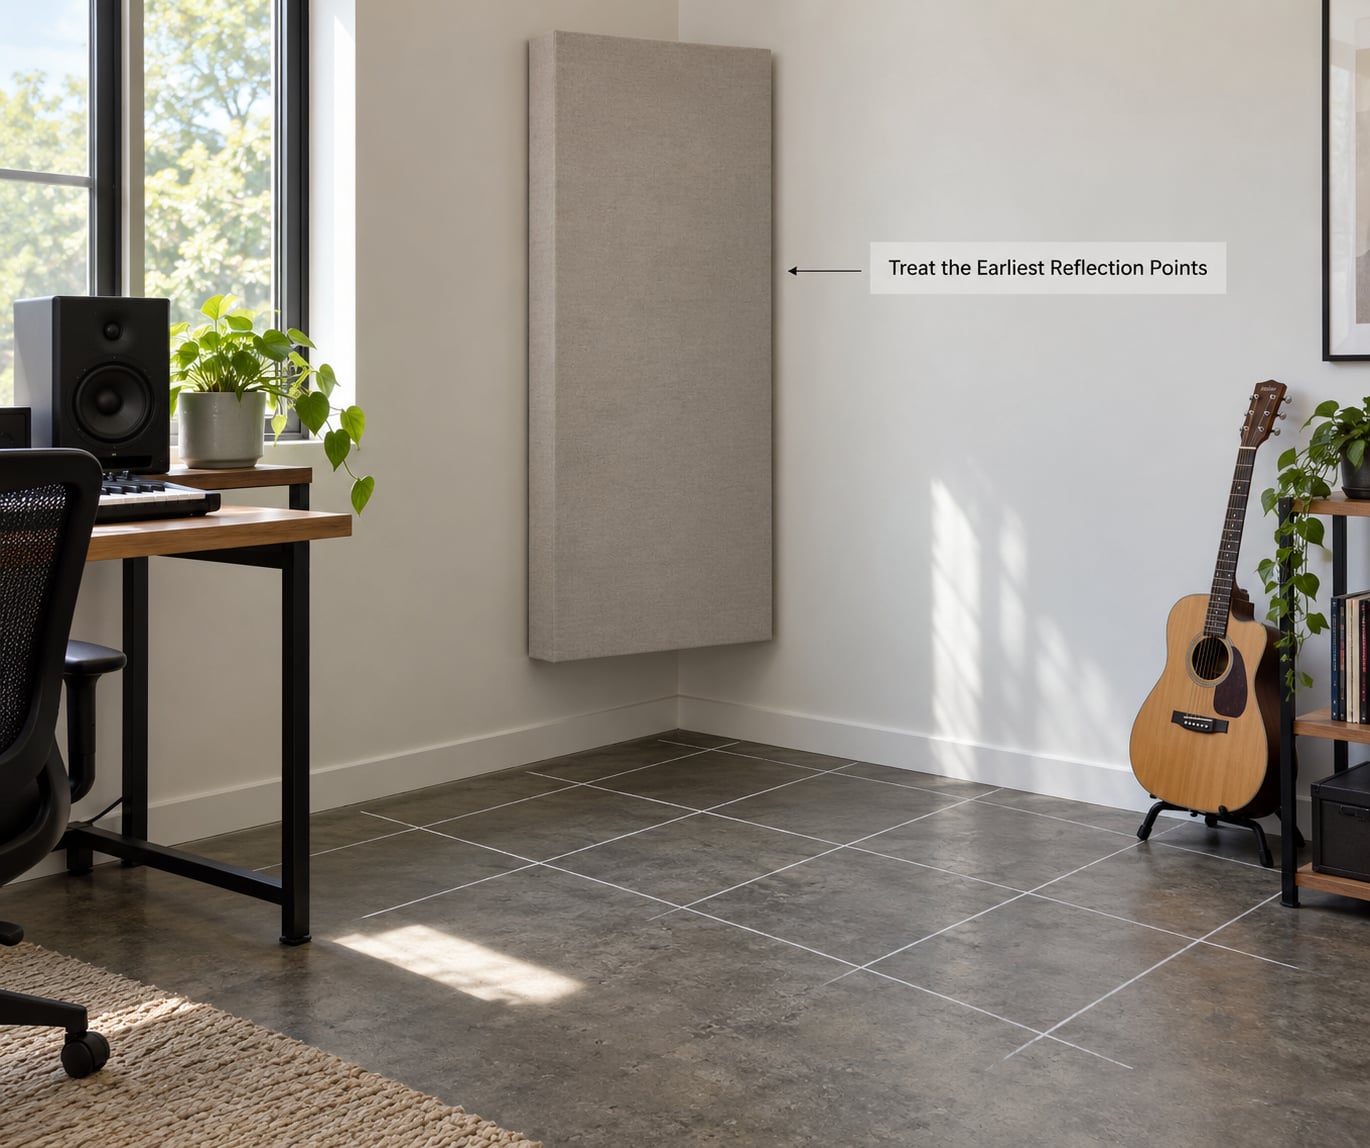
Find your first reflection points with a mirror. Have someone hold a mirror flat against the side wall at ear height, then walk toward the speakers while looking at the mirror. Where you can see a speaker cone reflected, you have found the spot where sound from that speaker bounces back into your ears.
Put a 100 mm broadband panel centred on that spot on each side wall, and the same on the side walls behind the speakers. This is the highest-value treatment in the whole room because it removes the comb filtering that smears your stereo image, and it does more for clarity than anything else on the list.
4. Add Bass Traps in the Corners
Low frequencies pile up where two or more surfaces meet, because pressure has nowhere to go. A trap that genuinely works is a triangular prism running floor to ceiling, one trap per vertical corner, with 100 mm of dense mineral wool. Anything short of full height leaves the top of the corner untreated, and the top is where the worst energy is.
Leave a small air gap between the trap face and the walls. With roughly a 100 mm gap, broadband absorption reaches down to around 100 Hz; air gap and increased depth push the useful range lower. Corner traps do more than wall panels for the low end because they present a much larger effective surface area.
5. Control Floor and Ceiling Reflections
Floor and ceiling reflections are the pair people skip, and they are the reason mixes still feel boxy after you have panels on the walls. Lay a thick rug with a felt underlay across the whole listening area, not a decorative runner. On the ceiling, either a suspended cloud between and slightly in front of the speakers and your head, or a broad absorber across the rear ceiling for the standing position.
A cloud needs wires rated for the load and anchors into joists. Budget for that, because it is the item most home DIY jobs get wrong.
6. Add Absorption at the Recording Position
Behind the performer, a heavy duvet on a rail or a portable gob absorber cuts the slapback you get on vocals and acoustic guitar more than anything behind the desk. Around the mic, keep the distance consistent; a singer drifting in and out of a null changes the mix more than any room treatment will.
7. Test the Room and Make Final Adjustments
Compare before and after rather than trusting the look of it. Clap once from the listening position: a bright, rattling response with a long decay means you still have reflective surfaces to find. Run a sweep in Room EQ Wizard if you have a measurement mic and compare the decay curve and the low-frequency bumps before and after.
Move one panel at a time. Add, listen, move it, listen again. Most rooms need less than people buy, and a room treated past the point of deadness sounds lifeless and makes you compensate with the mix.
Common Mistakes
Treating with foam tiles
Foam tiles do almost nothing below about 500 Hz. In a small room the problem lives between 40 and 200 Hz, so a wall of foam changes the look of the room and very little of the sound. Use dense mineral wool at 100 mm or thicker.
Mounting panels flat against the wall
A panel with no air gap loses most of its low-frequency usefulness. Stand it off the wall by 50 to 100 mm, or build it into a frame that creates the gap automatically.
Skipping the corners
Wall panels alone will not fix bass. If budget forces a choice, four floor-to-ceiling corner traps beat eight wall panels.
Over-absorbing
Covering every surface flattens the room. A lifeless space invites over-compression and heavy EQ because your ears stop trusting what they hear.
Ignoring speaker and desk position
Move the monitors off the wall on stands to cut speaker boundary interference, and put them in an equilateral triangle with your head. Changing position costs nothing and fixes problems that money cannot.
Treating before placing monitors
Set up the listening position first. Panels placed for a desk that later moves end up in the wrong corners.
Frequently Asked Questions
What are the best acoustic treatments for a home studio?
The core four are broadband absorption, bass trapping, diffusion and structural isolation. Broadband absorbers handle echoes and early reflections at ear height, bass traps in all four floor-to-ceiling corners handle low-frequency build-up, diffusion scatters what absorption leaves so the room does not sound dead, and isolation deals with noise passing through walls. In a small room, traps and broadband panels come first.
What is the 38% rule in room acoustics?
The 38% rule is a starting estimate, not a law. It says that roughly 38 percent of a room’s total surface area, counting walls, ceiling and floor, should be covered with broadband absorption to reach a neutral decay time. In practice the number matters far less than placement: a room with 20 percent coverage correctly placed at first reflection points and corners sounds better than one at 50 percent scattered thinly across walls.
How much does it cost to acoustically treat a room?
Free fixes with rugs, heavy curtains and rearranged furniture can take a room from unusable to decent. A serious DIY setup of panels and corner traps runs several hundred dollars in materials. Comparable treatment from manufacturers starts around a thousand dollars for a small room and climbs fast for large spaces. Prices vary by region and change over time, so treat any figure as a range rather than a quote.
What is the best sound deadening for a studio?
Mass and airtightness, in that order. Adding density to walls, sealing gaps around doors and windows with acoustic caulk and door sweeps, and decoupling a second layer of drywall all reduce transmission. Panels do essentially nothing for soundproofing because they absorb instead of block. If noise is passing through the structure, budget for construction work rather than absorbers.
How do I acoustically treat a bedroom studio with no drilling allowed?
Free-standing panels on stands, hook-and-loop mounting on removable strips, heavy curtains hung from existing hardware, a thick rug and portable gob absorbers behind the performer all work without touching a wall. Rearrange furniture so the bed is no longer a flat reflective surface, and move monitors off the wall. You lose some low-frequency effectiveness compared with sealed corner traps, but most of the benefit is still there.
How do I acoustically treat a room with windows?
Treat the window first, because glass is the least reflective surface in most rooms. Heavy curtains hung with a wide gap from the glass absorb more than thin blinds, and a thick drape across the wall next to the window helps the side wall too. Absorbers placed near the window help the wall reflections around it. If the window faces a noise source, no amount of absorption will help and you need real isolation or a different room.
Conclusion
Start with the free work: move your monitors onto stands, put a thick rug down, and swap thin blinds for heavy curtains. Then measure the room and find the first reflection points with a mirror. After that, spend your material budget on four floor-to-ceiling corner traps and a handful of 100 mm broadband panels on the side walls, and test with a sweep or a clap before you buy anything else. Digital room correction like Room EQ Wizard or Sonarworks works well as a final touch, but it smooths over a bad room rather than fixing one.